 Imagine this scenario: You’ve spent months building up a substantial fan base on your business’s Facebook page, engagement levels are high, you’ve got lots of great content, photos and videos, and your page is sending lots of traffic to your website. Sounds fantastic doesn’t it? Now imagine that over night, you lose all the information on your Facebook page – an absolute disaster!
Because it’s the mighty Facebook, we tend to forget that we can lose the valuable information we’ve worked so hard on. A hacker, a user error, viruses, data corruption or sabotage are just some of the possible causes which can lead to a total loss of the information on your Facebook page.
Well, the other day I stumbled upon a solution which could save you from losing all your Facebook page data… introducing Backupify!
 What is Backupify?
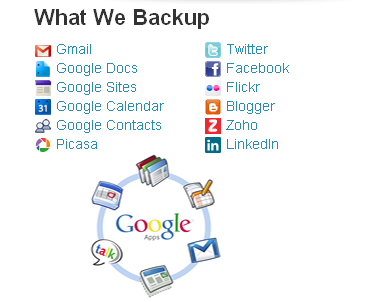
Backupify is a leading backup provider for cloud based data. This fantastic solution offers complete backup services for the most popular online services including Facebook, Twitter, Gmail and more…
So although this post focuses on backup services for Facebook pages, bear in mind that you can use Backupify to protect many of your social media and online accounts.
How Much Does Backupify Cost?
Here’s the good news: Backupify is free for 3 accounts. You get 1GB storage limit and can back up your services on a weekly basis. This free package only includes email support.
If you feel you need more, their paid plans start at a reasonable $4.99 per month and include more frequent daily backups as well as extended support services.

Setting up an Account with Backupify
- First of all you need to head over to https://www.backupify.com/social-media-backup and choose the free plan option by clicking on the ‘sign up now’ button.
- Enter your details in the sign up form.
- Choose the service you want to back up. In this case we want to backup our Facebook Fan Page so click ‘add’ to include the service.
-

Tick the options you want to Backup You’ll now be prompted to log in to your Facebook account, once logged in choose the page you want to backup (if you have more than one). Backupify archives all the data from your Facebook Fan Page: All the content from your News Feed, Wall Posts, Photo Albums, Events, basically everything you’d want to save. You can go through and tick off the exact items you want to backup from your Facebook Fan Page.
- Save your choices and Backupify will do its magic and begin backing up your valuable data.
So there you have it, a simple – and free – way to backup your Facebook Fan Page and avoid the headache of losing some – or all – of your data. Have you tried Backupify? What do you think of the service? Do you know any other backup services? Let us know in the comments below.
Hello, after backingup the FB page can I save the file on my own PC?
ML
Looks to good to be true? 🙂